Steering cable tension
Posted by Dave on Mar 24th 2022
An underappreciated element of sailboat steering maintenance is cable tension. Most people don't think too much about it, but in minor cases it can cause some imperfect steering responses and markedly increased system wear, and in more major cases it can cause a catastrophe.
A lack of cable tension causes slop in the system, which you may feel in the steering depending on how undertensioned things are. As you turn the wheel, the slack in the cable (wire) gets taken up by the first bit of your turn, and then the cable gets taut and turns the quadrant which turns the rudder which then turns the boat. Not ideal for you, especially if you're in a tight maneuvering situation or trying to win a Wednesday night race. Even worse is the wear it can cause in the system.
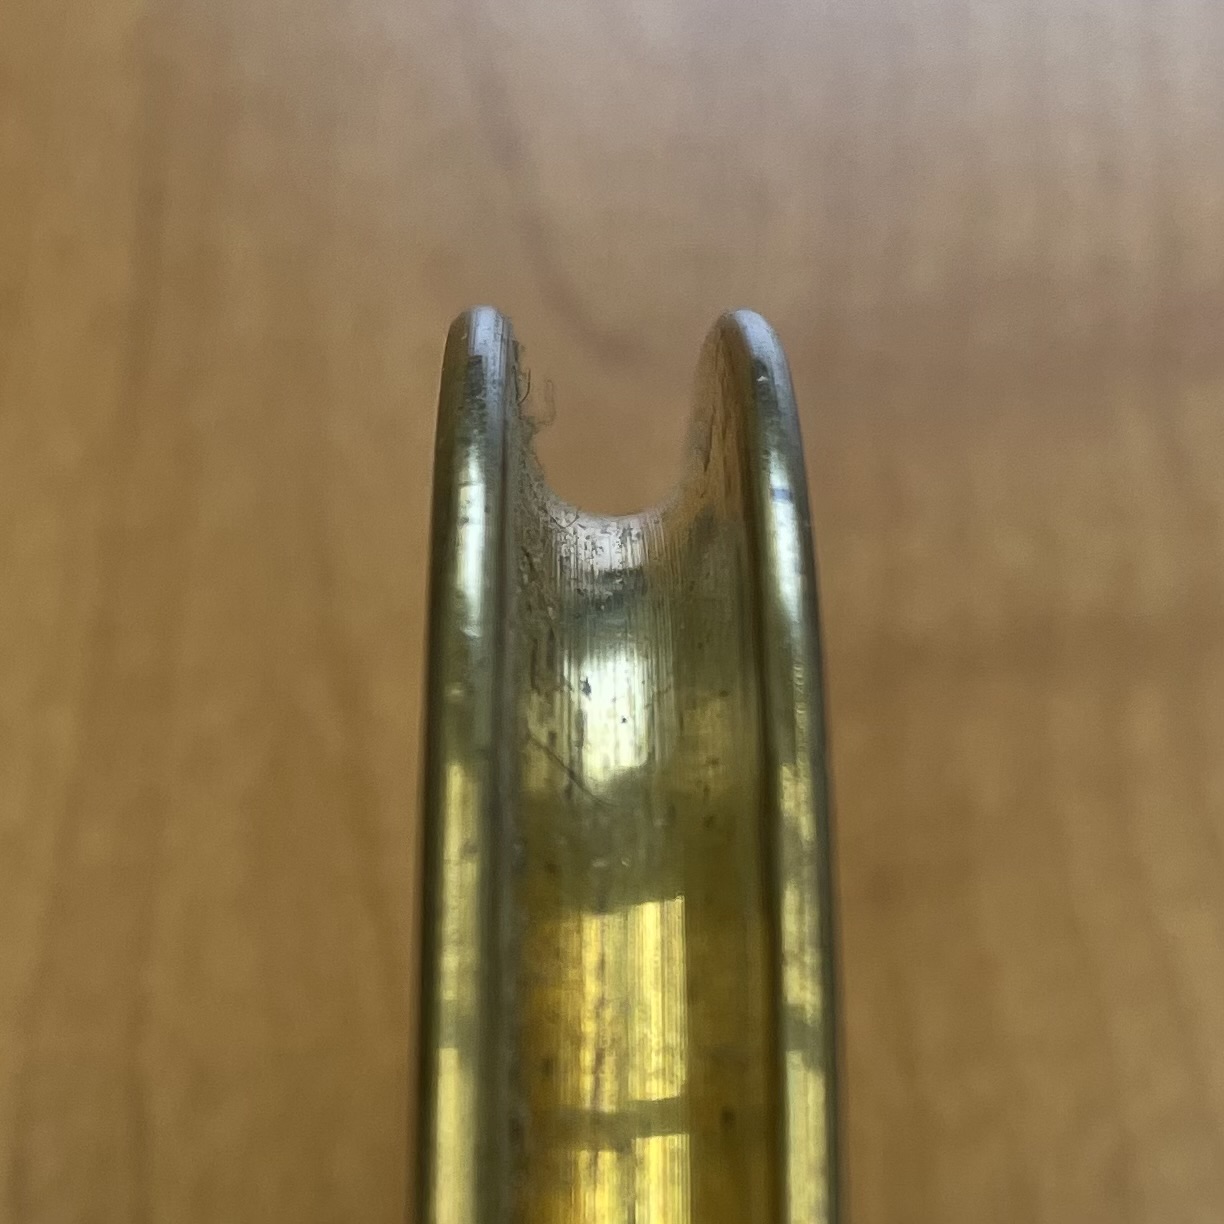
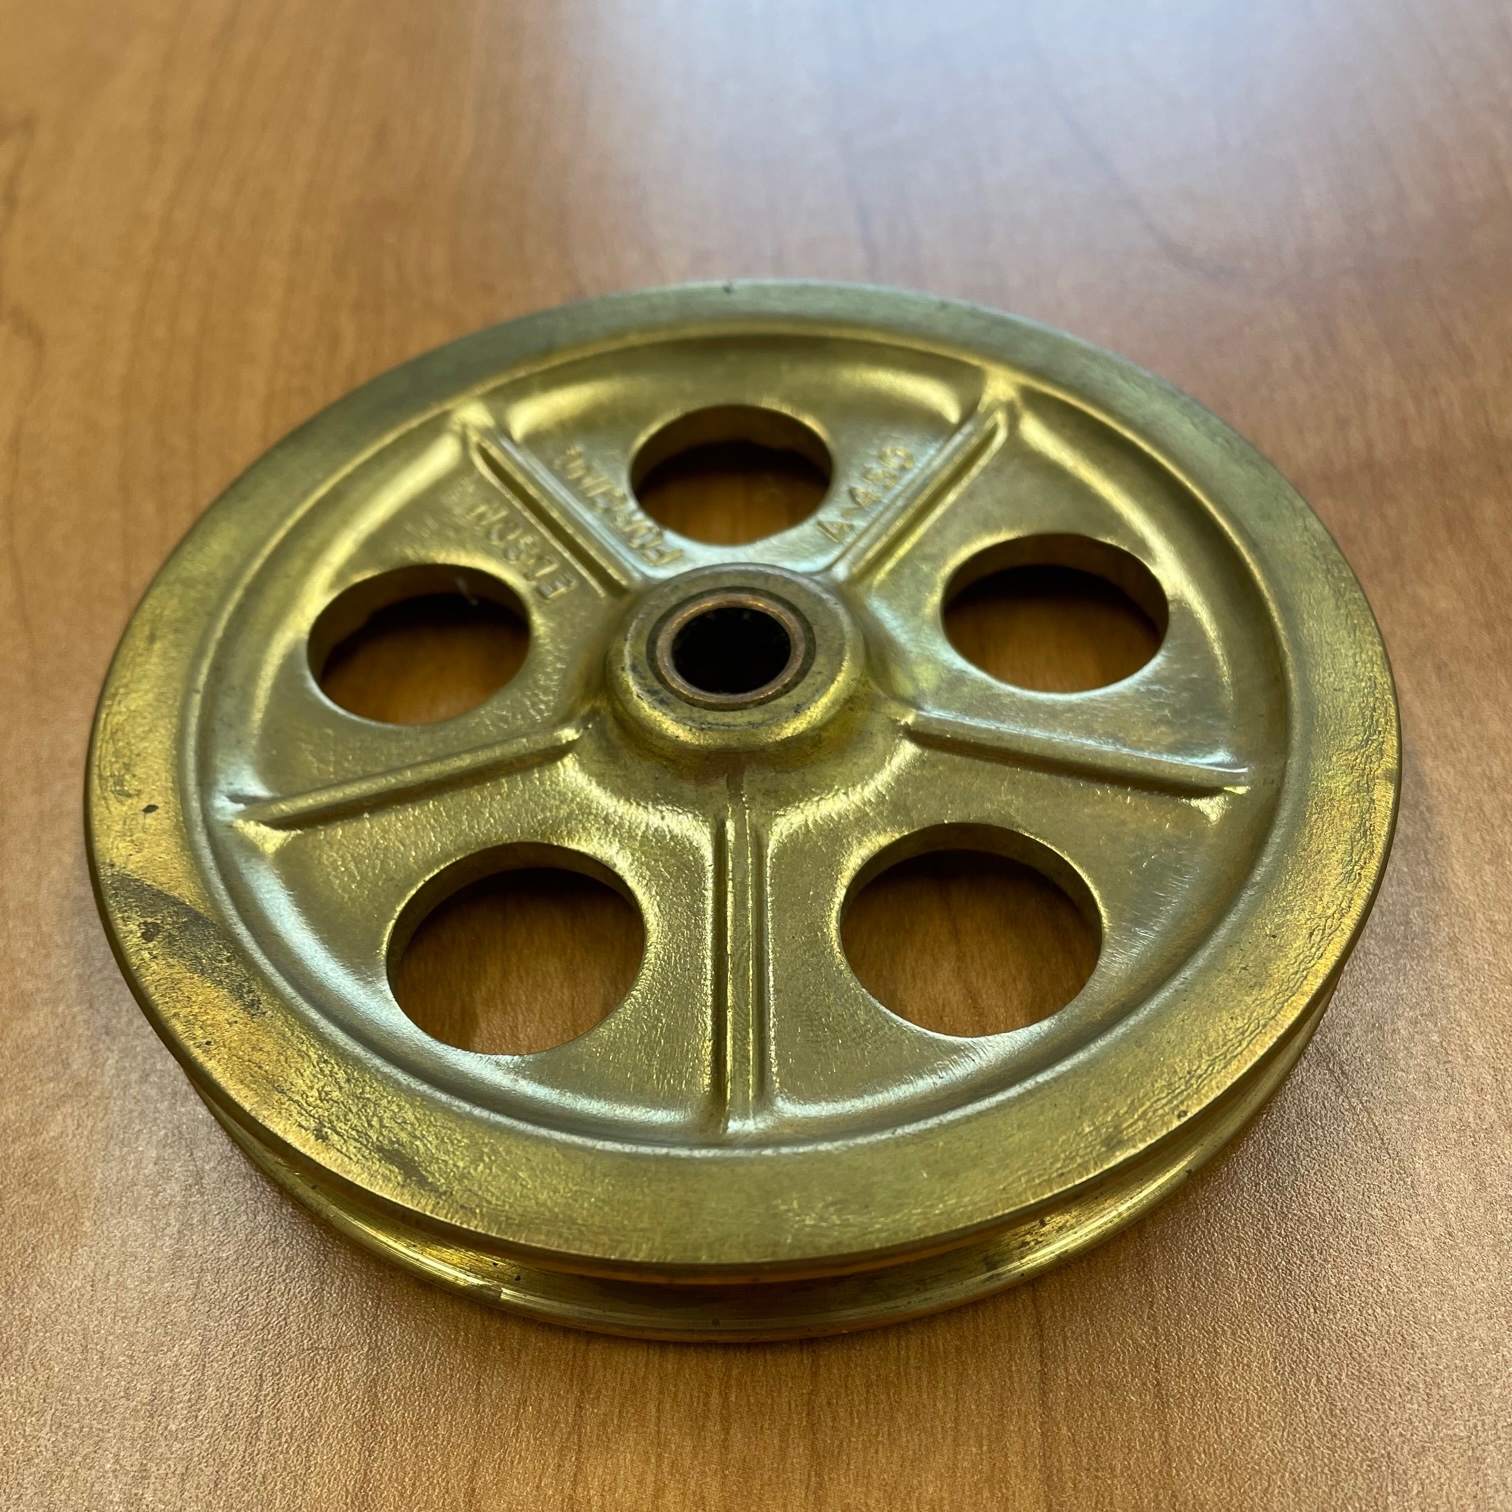
Slack cables droop, and as they droop the cables start to wear on the edges of the idler sheaves. The idler sheave in this picture has never been used, and you can see that the edges are unmarked. Had this been in use with too slack of a steering cable, you would see "wire scars" on the sheave's inside and perimeter edges. Over time, those scars beat up the sheave, which then starts to beat up the wire, and the wear acceleration just gets ugly.
Even worse than that is the possibility that the cable would jump out of the sheave, or out of the quadrant. Should that happen, you're faced with the brutal task of getting it back on. That requires you to loosen the cable considerably to get enough slack to get the cable back on the sheave, and then you've got to retension the cable. These things never happen on calm days, so as you try to do this the boat will be bucking around and the rudder will be swinging back and forth and none of this is very fun at all.
Notice how deep the groove is in the pictured sheave. That depth provides a lot of room for error in preventing the cable from jumping out, but it comes at the slight cost of being vulnerable to more scarring from chain slack. In the scheme of things, the scarring risk is the lesser risk.


Now let's jump to the other side of the problem - overtensioned cables. Overtensioned cables can make the steering feel "dead" or sticky. This is thanks to the increased friction on the sheave axles and the bearings throughout the system. It also puts unnecessary stress on the axle pins and every other link in the system, including the chain. Chains are critically important and expensive, and they already face a hostile environment from salt water. You don't want to cause them extra stress. The bearings in your pedestal on the steerer shaft also get murdered by this extra tension stress.
So how much tension is enough but not too much? Good question, and we have a ton of different ways to describe it. My personal favorite is "no longer loose but not yet tight." By this I mean there is no evident sag in the cable as it travels from sheave to sheave to quadrant. If you were to pluck the cable it wouldn't yet make a musical note, but there is enough tension for you to pluck the cable. You aren't tuning a guitar string here, you just need to take out the slack and then a pinch more.
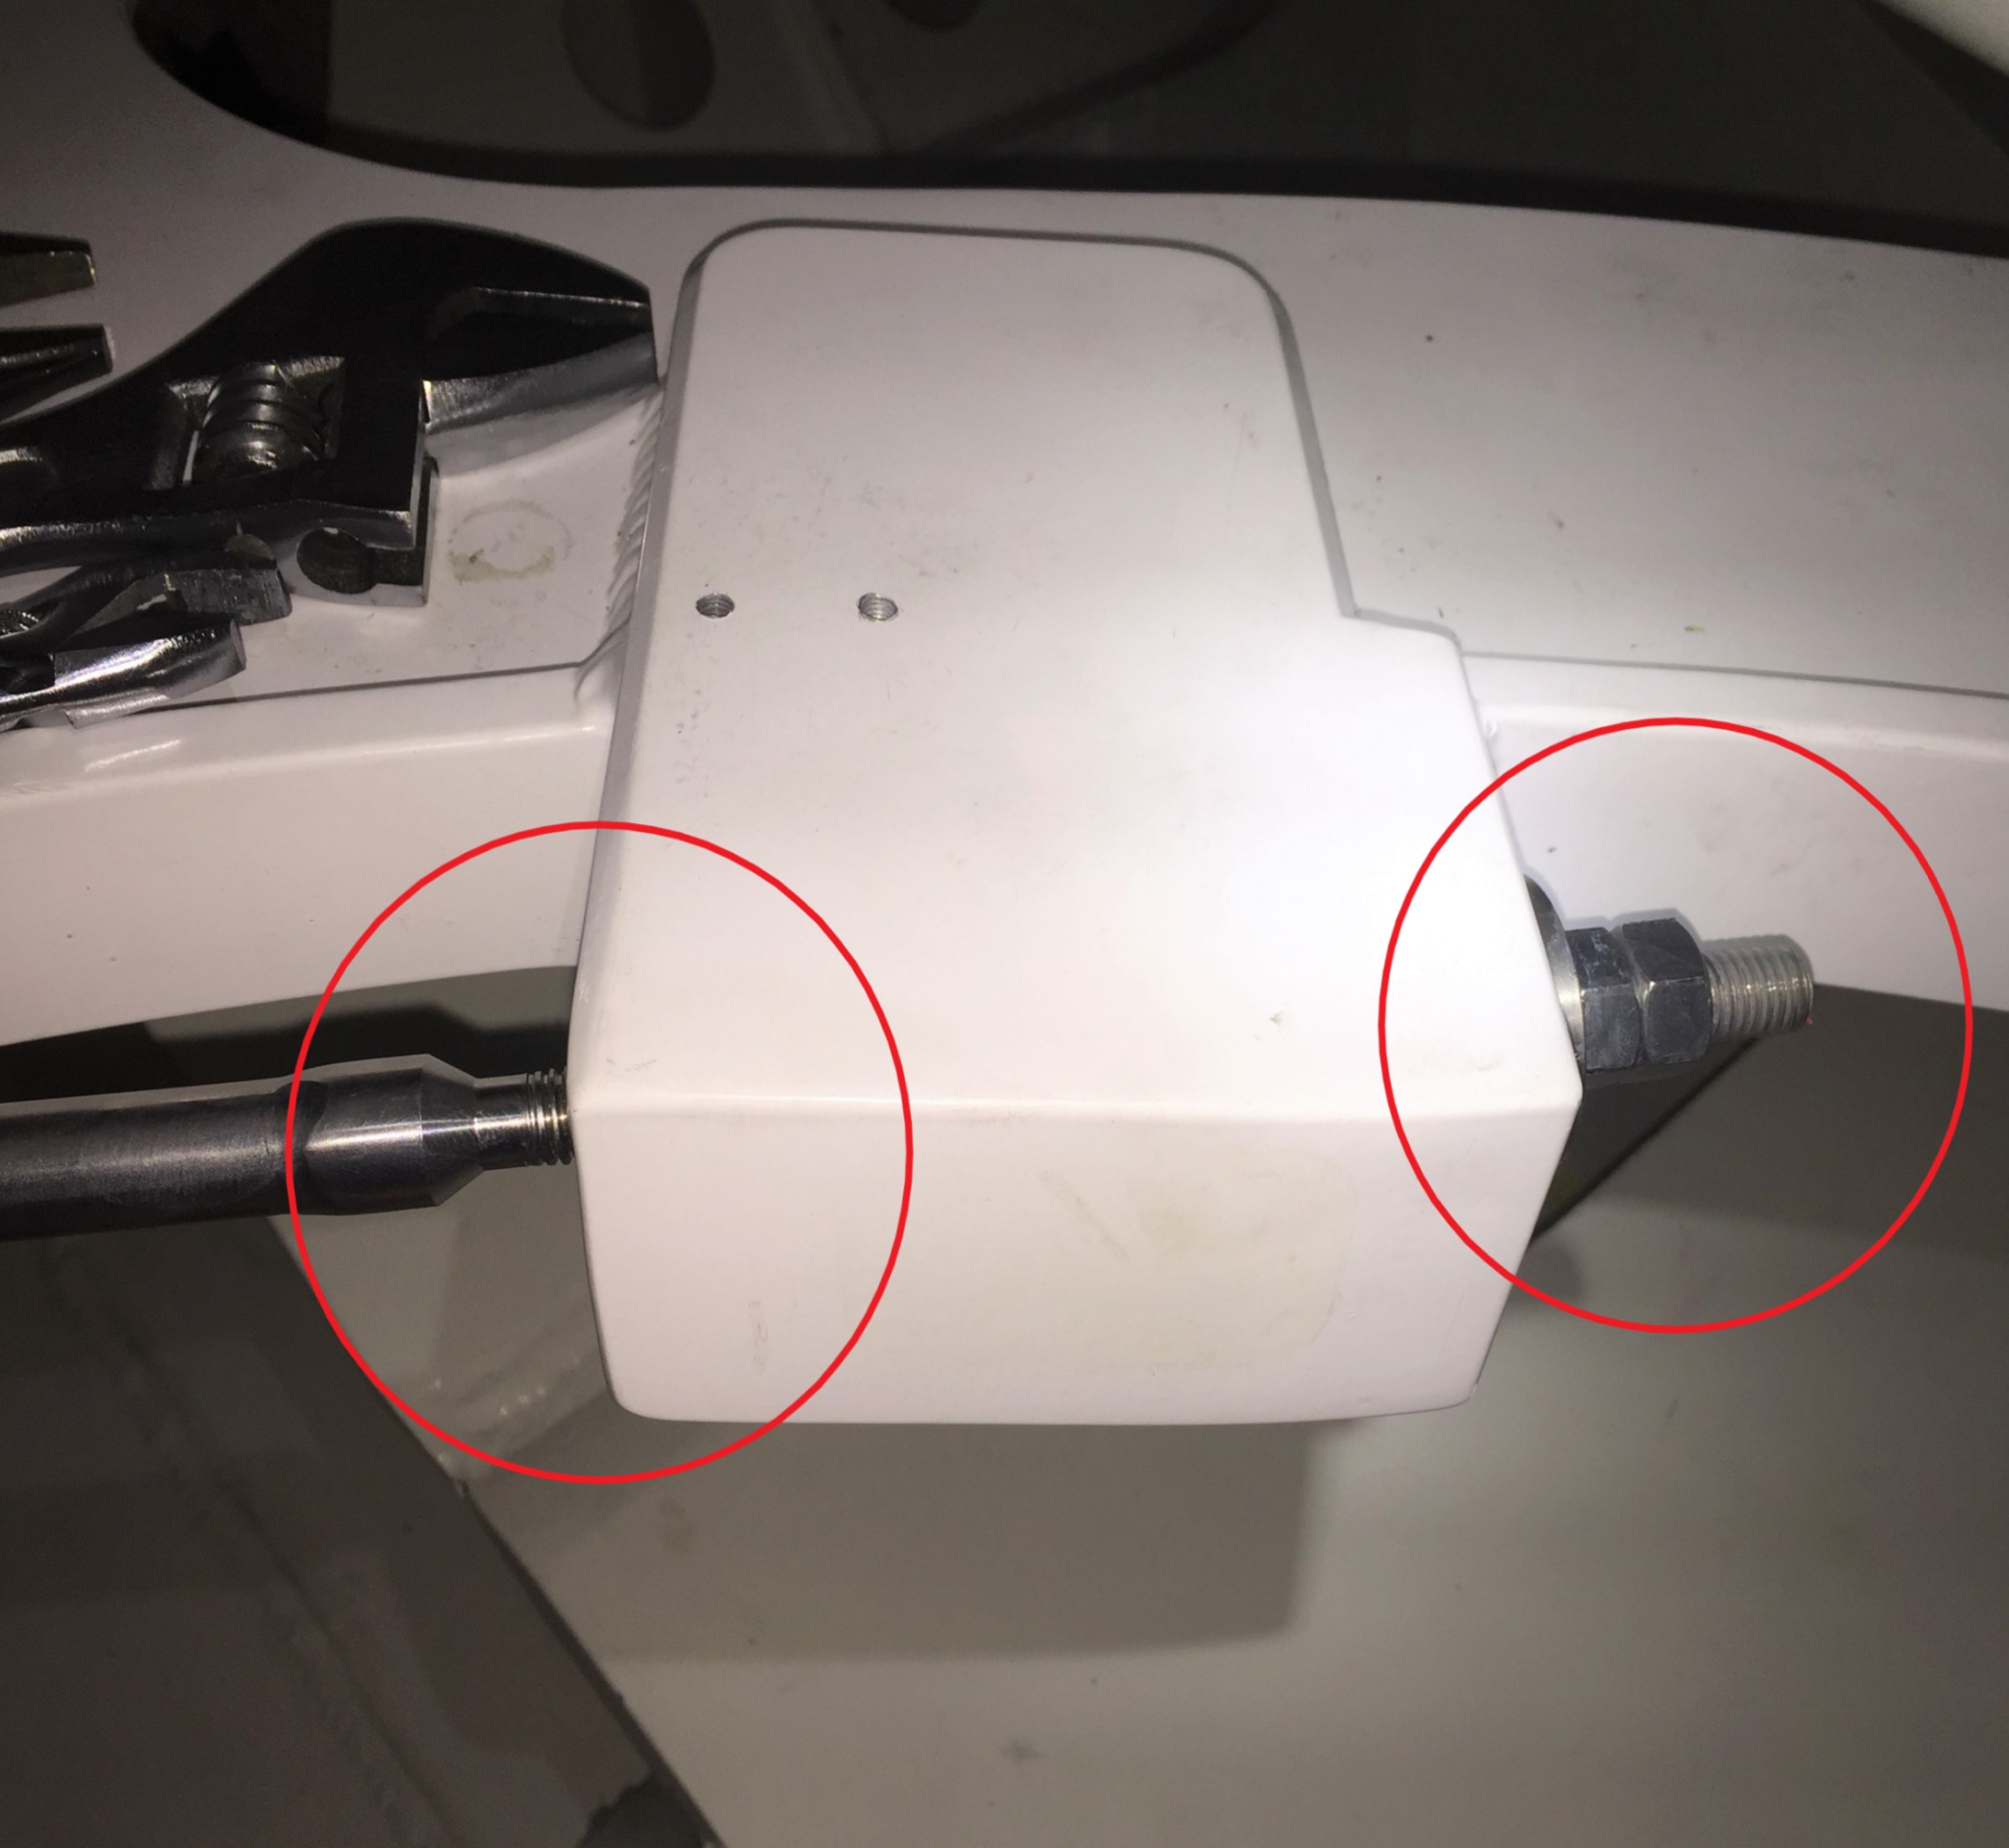
How do you adjust the tension? Below is a picture of one cable termination on the quadrant of a large sailing yacht. Yours might look a little different than this, but the function is the same. Two cables terminate at adjustable ends on the quadrant or radial, and are adjusted by turning the nuts righty-tighty to increase tension. Begin by inspecting each idler for wear and play, and the cable for any kinks, broken strands, corrosion, or other unusual wear.
Start off with the cables slack, the rudder centered, the adjustment eyes at the same length, and equal amounts of chain on either side of the sprocket (you'll need to take your pedestal head off to see this). If the rudder is centered and the cable isn't centered on the sprocket, release cable tension until you can pull the chain up off the sprocket and replace it so it's centered. Most boats use cable clamps to secure the steering cable to the adjusters, so make sure they're all intact and plenty tight.

From there, take equal turns on each adjuster, going in small increments - 2 turns on one, 2 turns on the other, then 1 turn on one and 1 on the other, etc. This makes sure that your chain and cable is centered and you get the full throw of your steering from rudder stop to rudder stop.Once you've achieved the magical "no longer loose but not yet tight" setting, turn the locking nuts onto the primary nuts and go for a nice sail with great steering feel, knowing that your steering will work as designed as safely and last as long as possible.

