

Replacing wire steering cable with Dyneema
Posted by Dave on May 9th 2022
Many of the world's top race boats have switched to using Dyneema rope instead of 7x19 wire. Edson has successfully supplied many systems using rope-based steering cable for many years, including on one of my all-time favorite keelboats, the Farr 40. The specific system that boats like the Farr 40 and 45, and Swan 42 and 45 used have no chain at all - the rope winds around a spindle called the Drum Roll steerer instead of using a chain. I've recently seen a few of these that are over 20 years old and still going strong. But even with a traditional chain-based steerer, Dyneema has a few advantages over wire, and we're developing Dyneema-based chain and cable kits as an option.
A few of the main advantages are Dyneema's strength, its stability, security of connections, its kindness to sheaves, and its overall durability. The Dyneema we're using, made by Marlow, is called MAX99. 4mm MAX99 has a breaking strength of over 5000 pounds. 3/16" 7x19 stainless cable, on the other hand, is roughly 3300 pounds breaking strength. Absolute strength rarely comes into play on a steering system, but more strength means more resistance to the slings and arrows of life in a boat. Stability is simple - Dyneema doesn't rust or corrode in any way. Cable clamps and nico presses work well and have proven themselves, but they do weaken the wire at their point of termination. Splices, on the other hand, reduce the strength of the line by 0%. Splices actually make the line stronger at the point of the splice. The below pictures show some scarring of the sheaves where the wire has been running over them during this boat's life, where the sheaves on the Farr 40 system I'd seen recently just have a light polishing on them after more years of similar use. All of these factors contribute to reliability and durability.
One of the big challenges with the Dyneema project is the length exactness required. With a wire cable and clamps, as long as the wire is long enough you're good to go. You can have a long tail past the clamps. With rope-based steering, the rope length has to be correct to within a fairly narrow of resolution. This explains why I took a trip to a local J/109 today and did a full measure. We've set out to measure as many of the more popular boats as we can, in order to make convenient kits for you to install on your boat. Here are some photos from today's field trip.
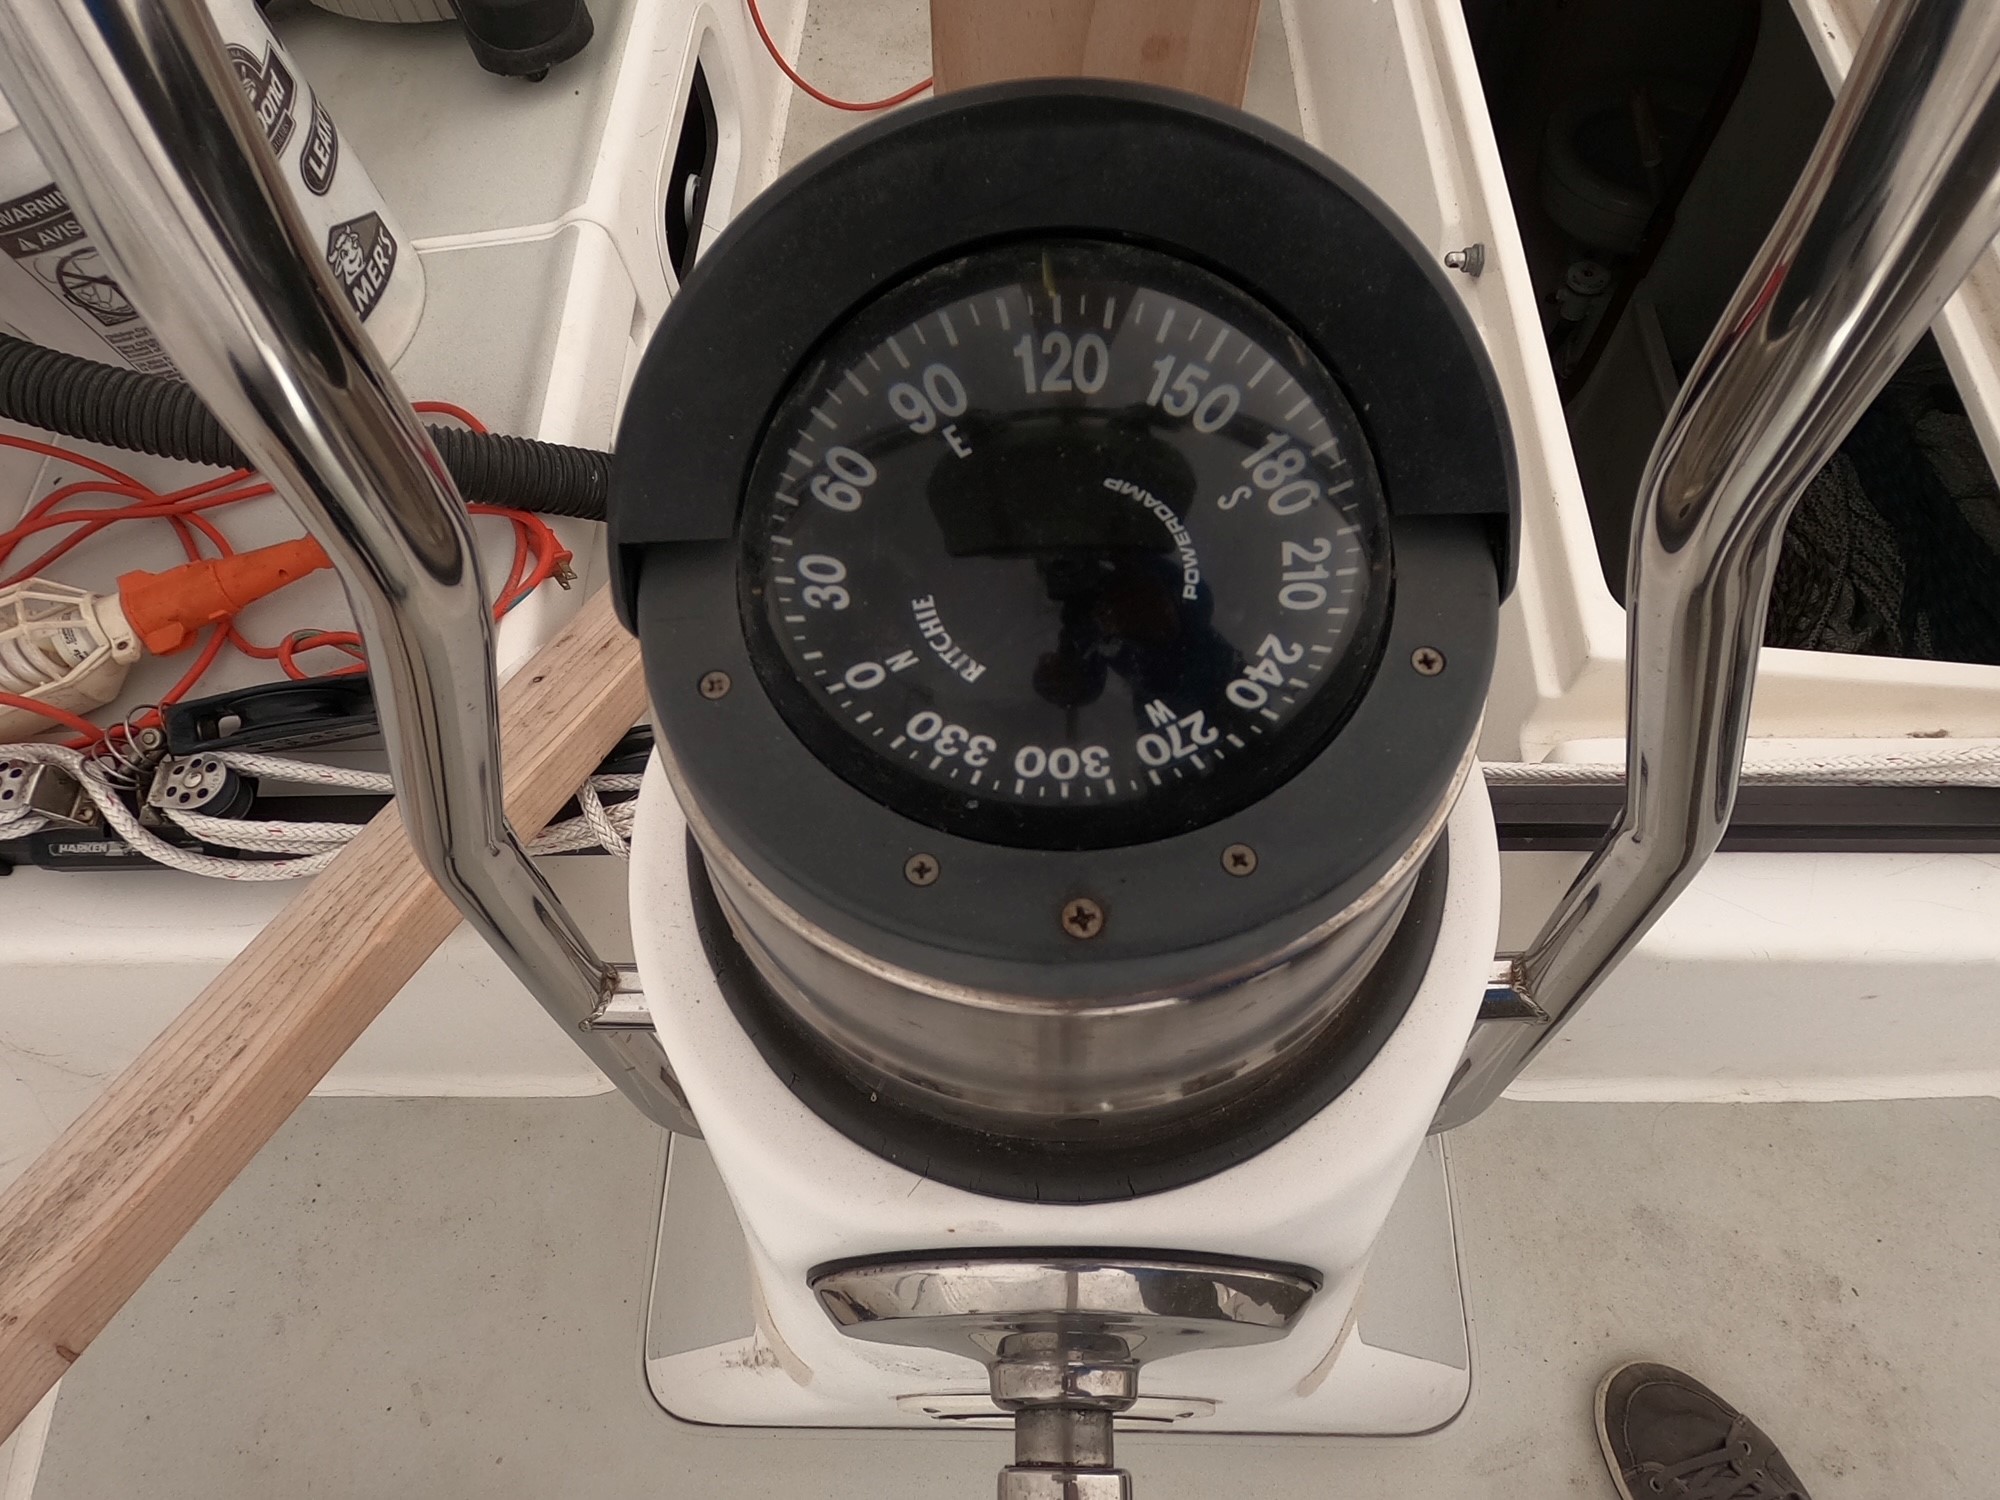
Step 1 is the intact system. From here we remove the compass...
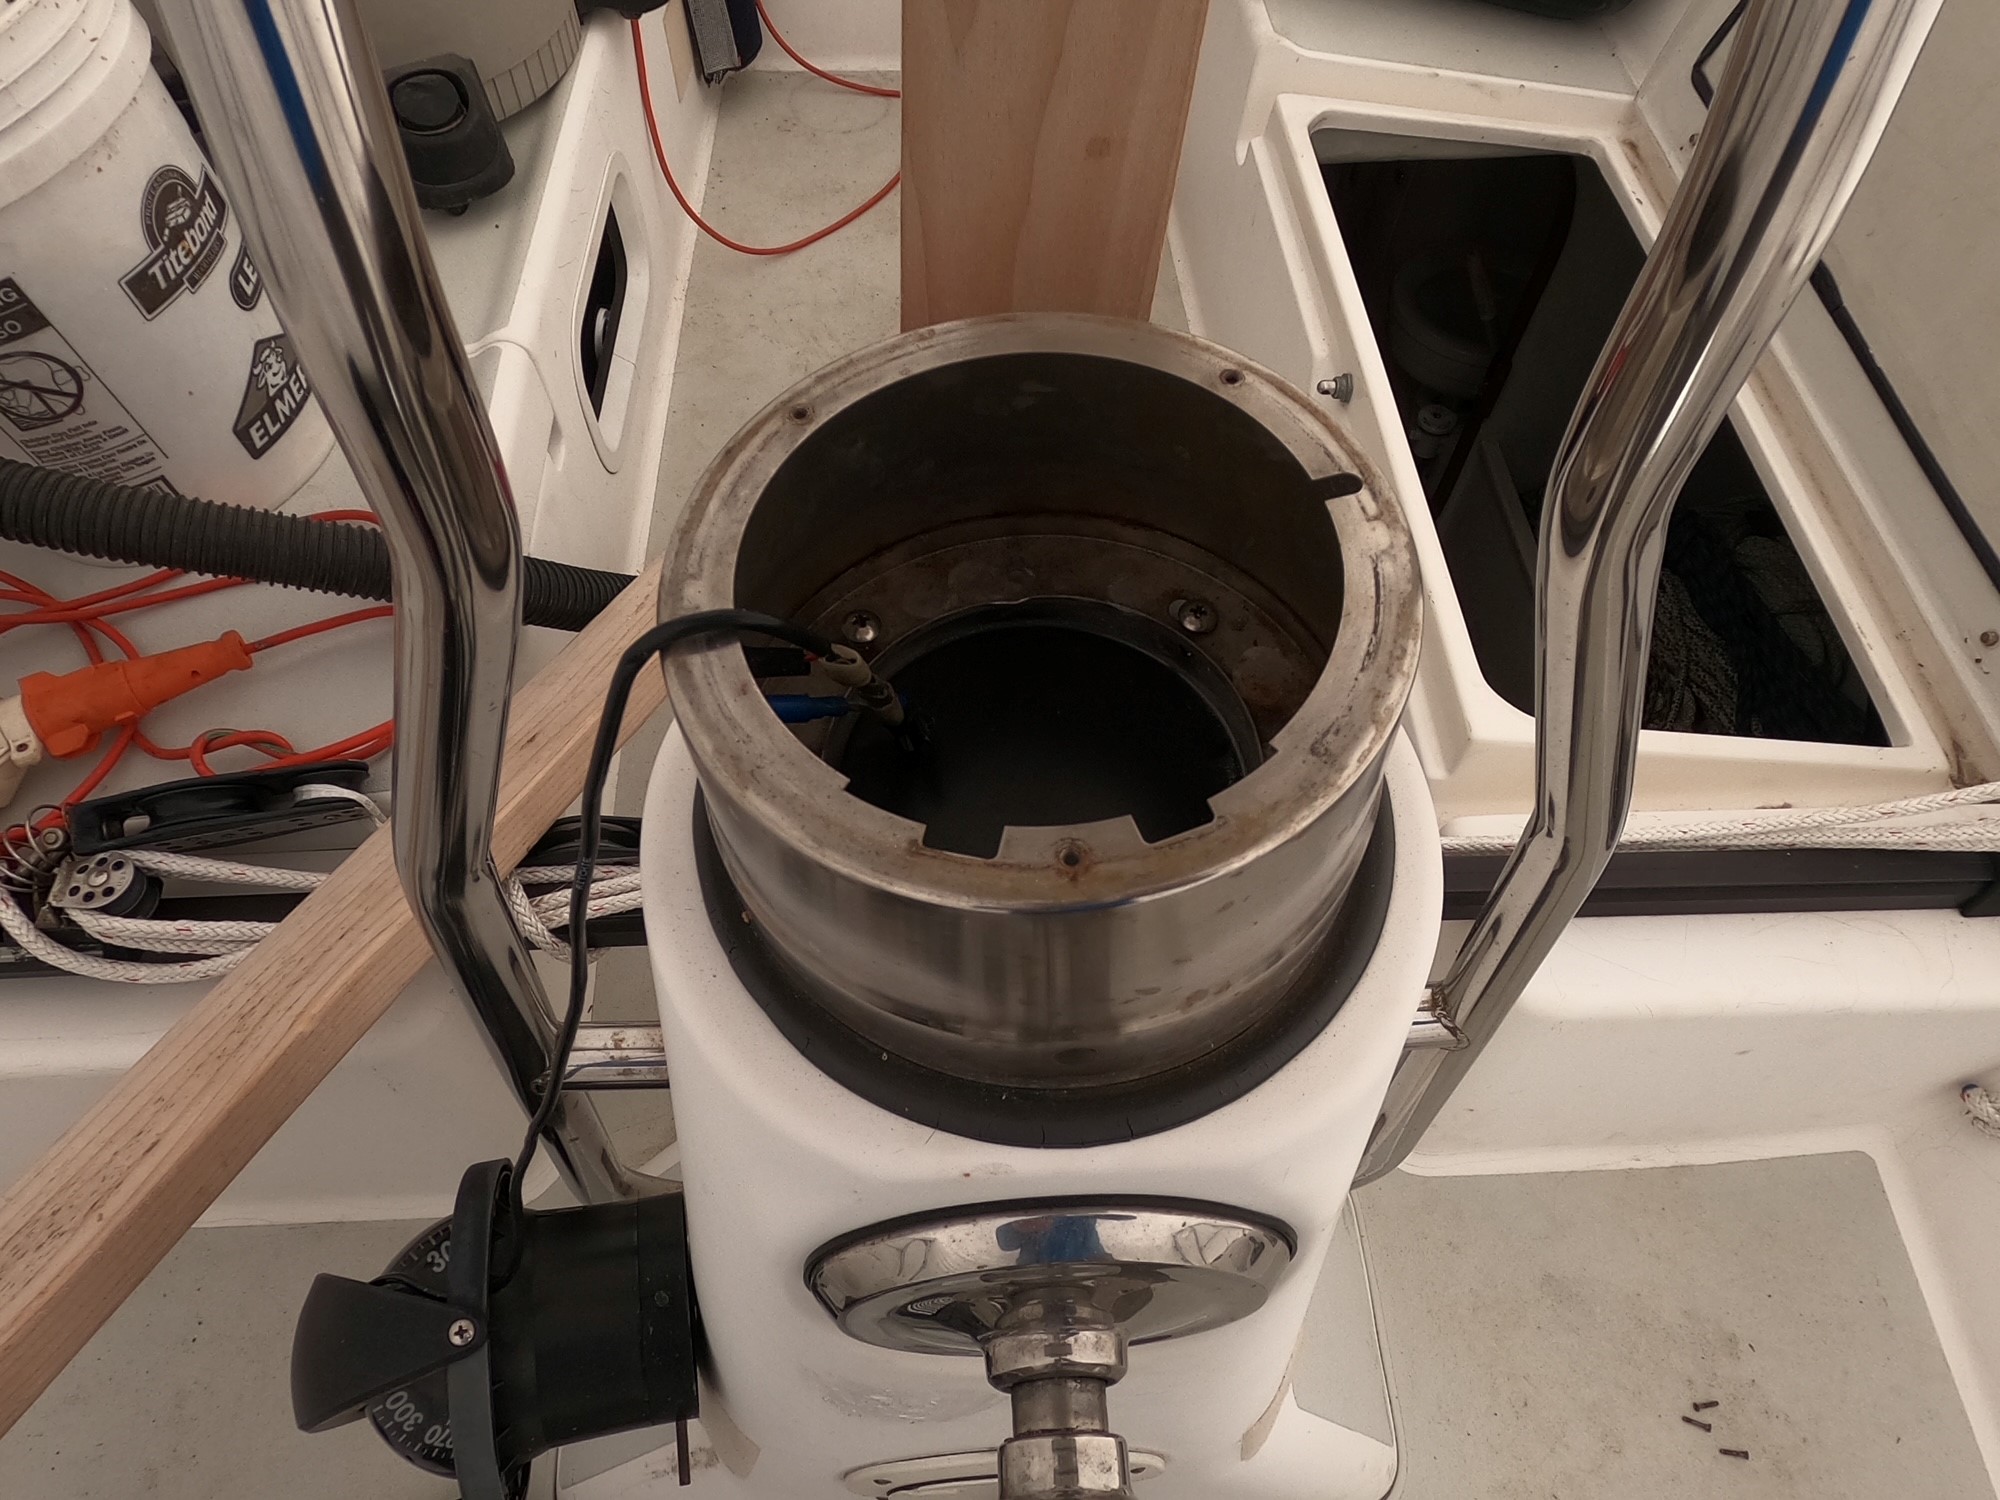
and the compass height extension cylinder...
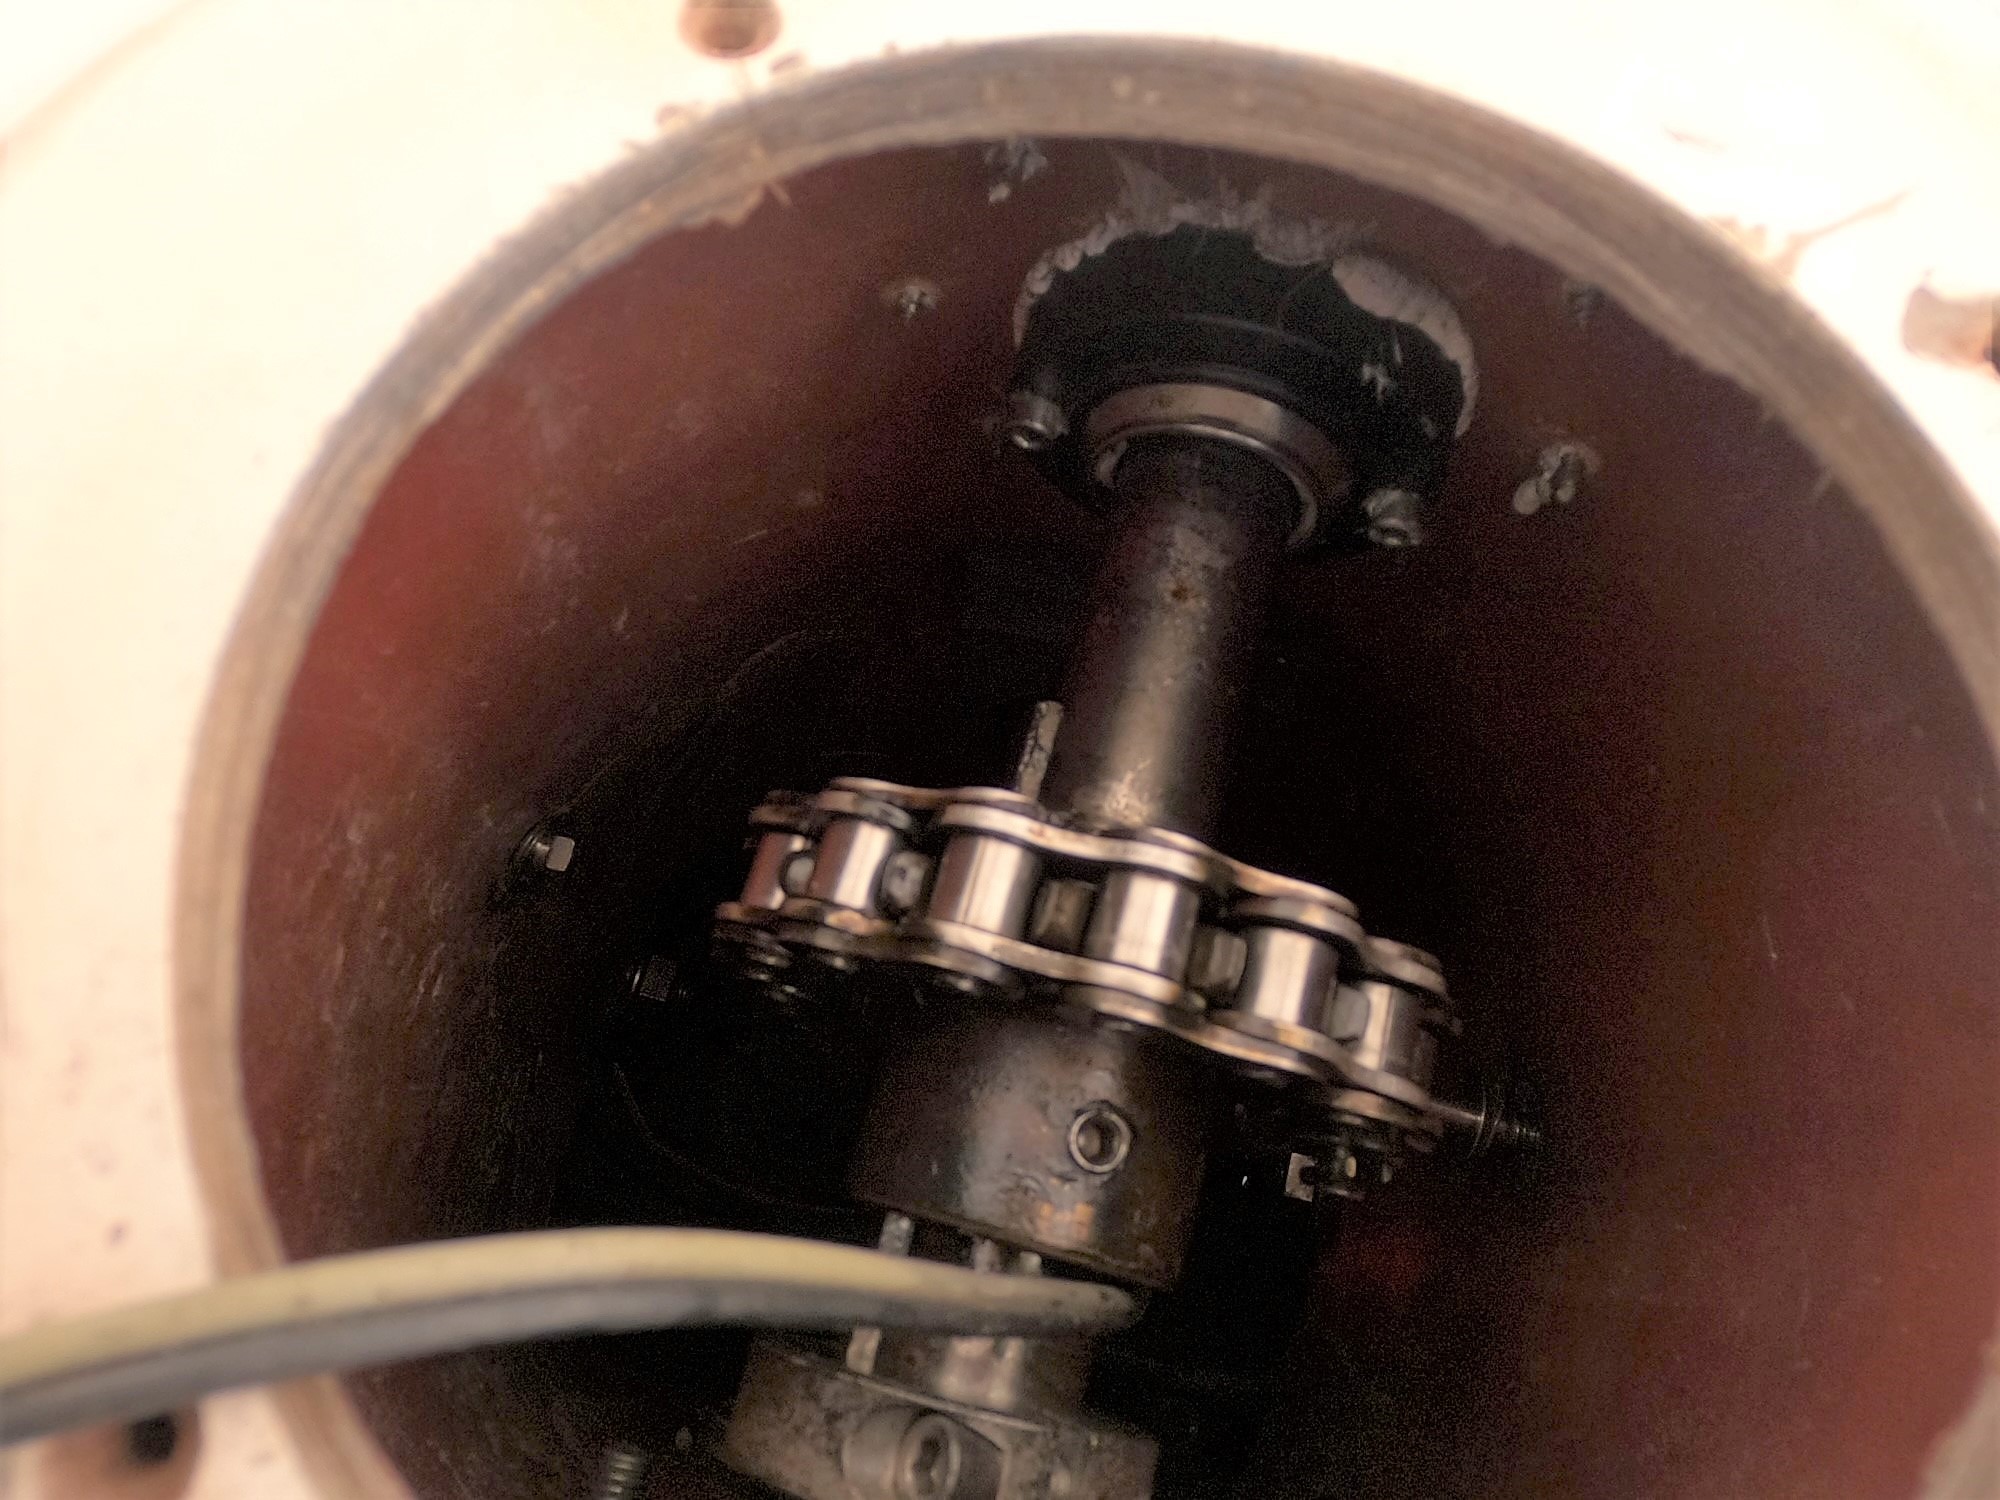
to expose the steerer and chain. Please note that this chain looks quite bright but that's because of the lighting and photo editing I did to expose the steerer - the boat is under a cover and the light is dim. There's a photo of this chain's real state at the end.
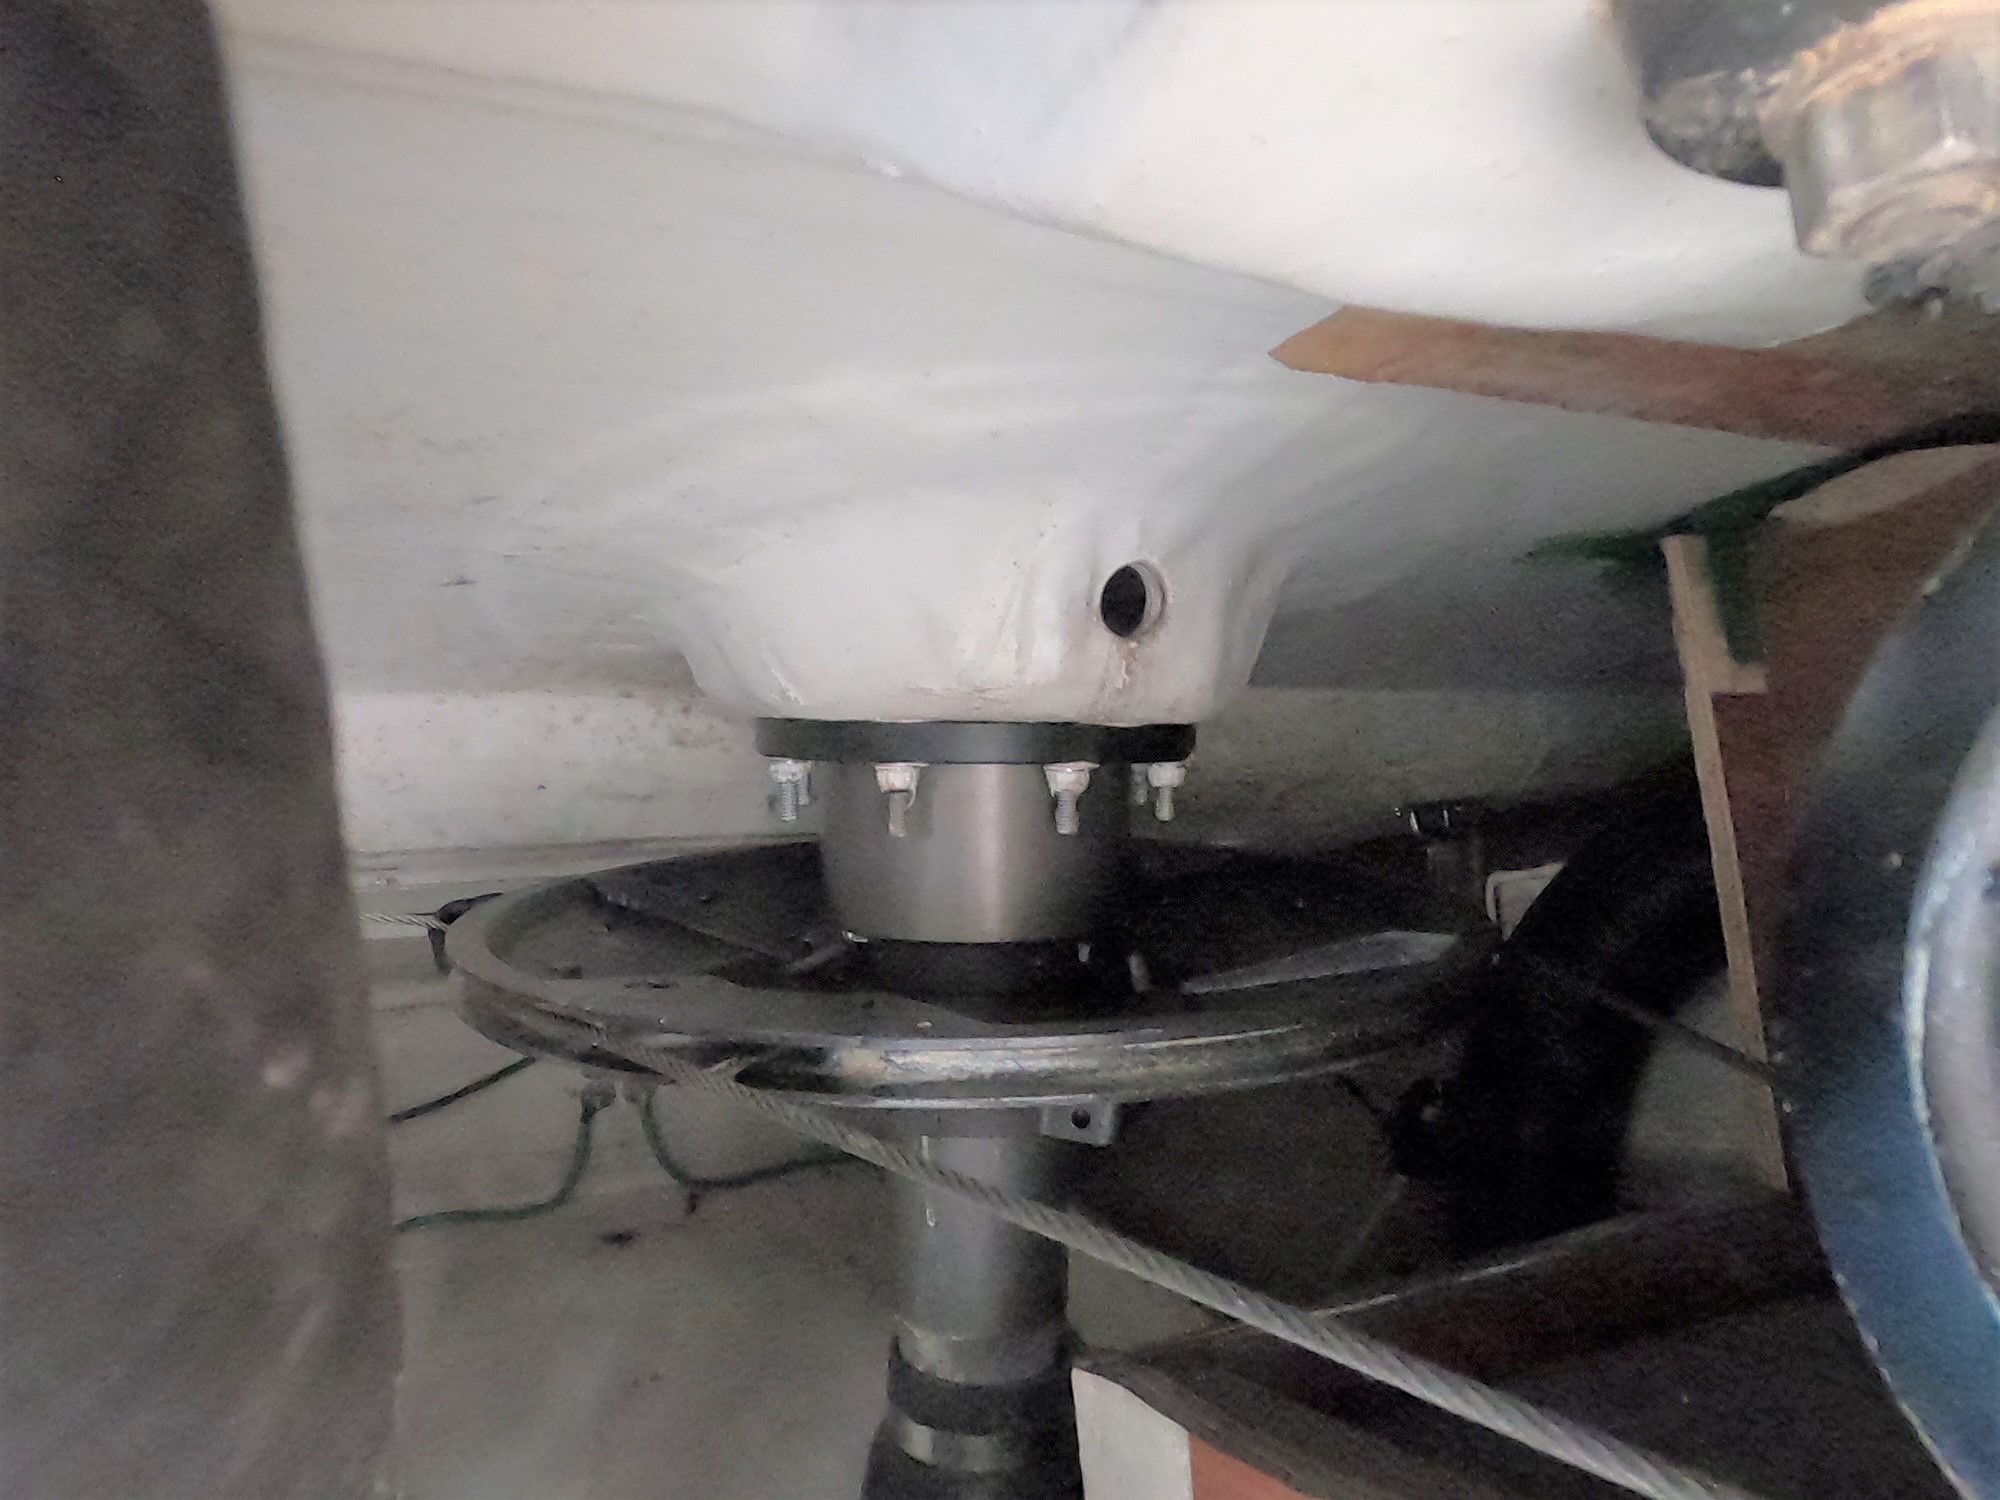
From there, head down below to the rudder post to inspect the idlers and radial, and loosed the cables from the radial.
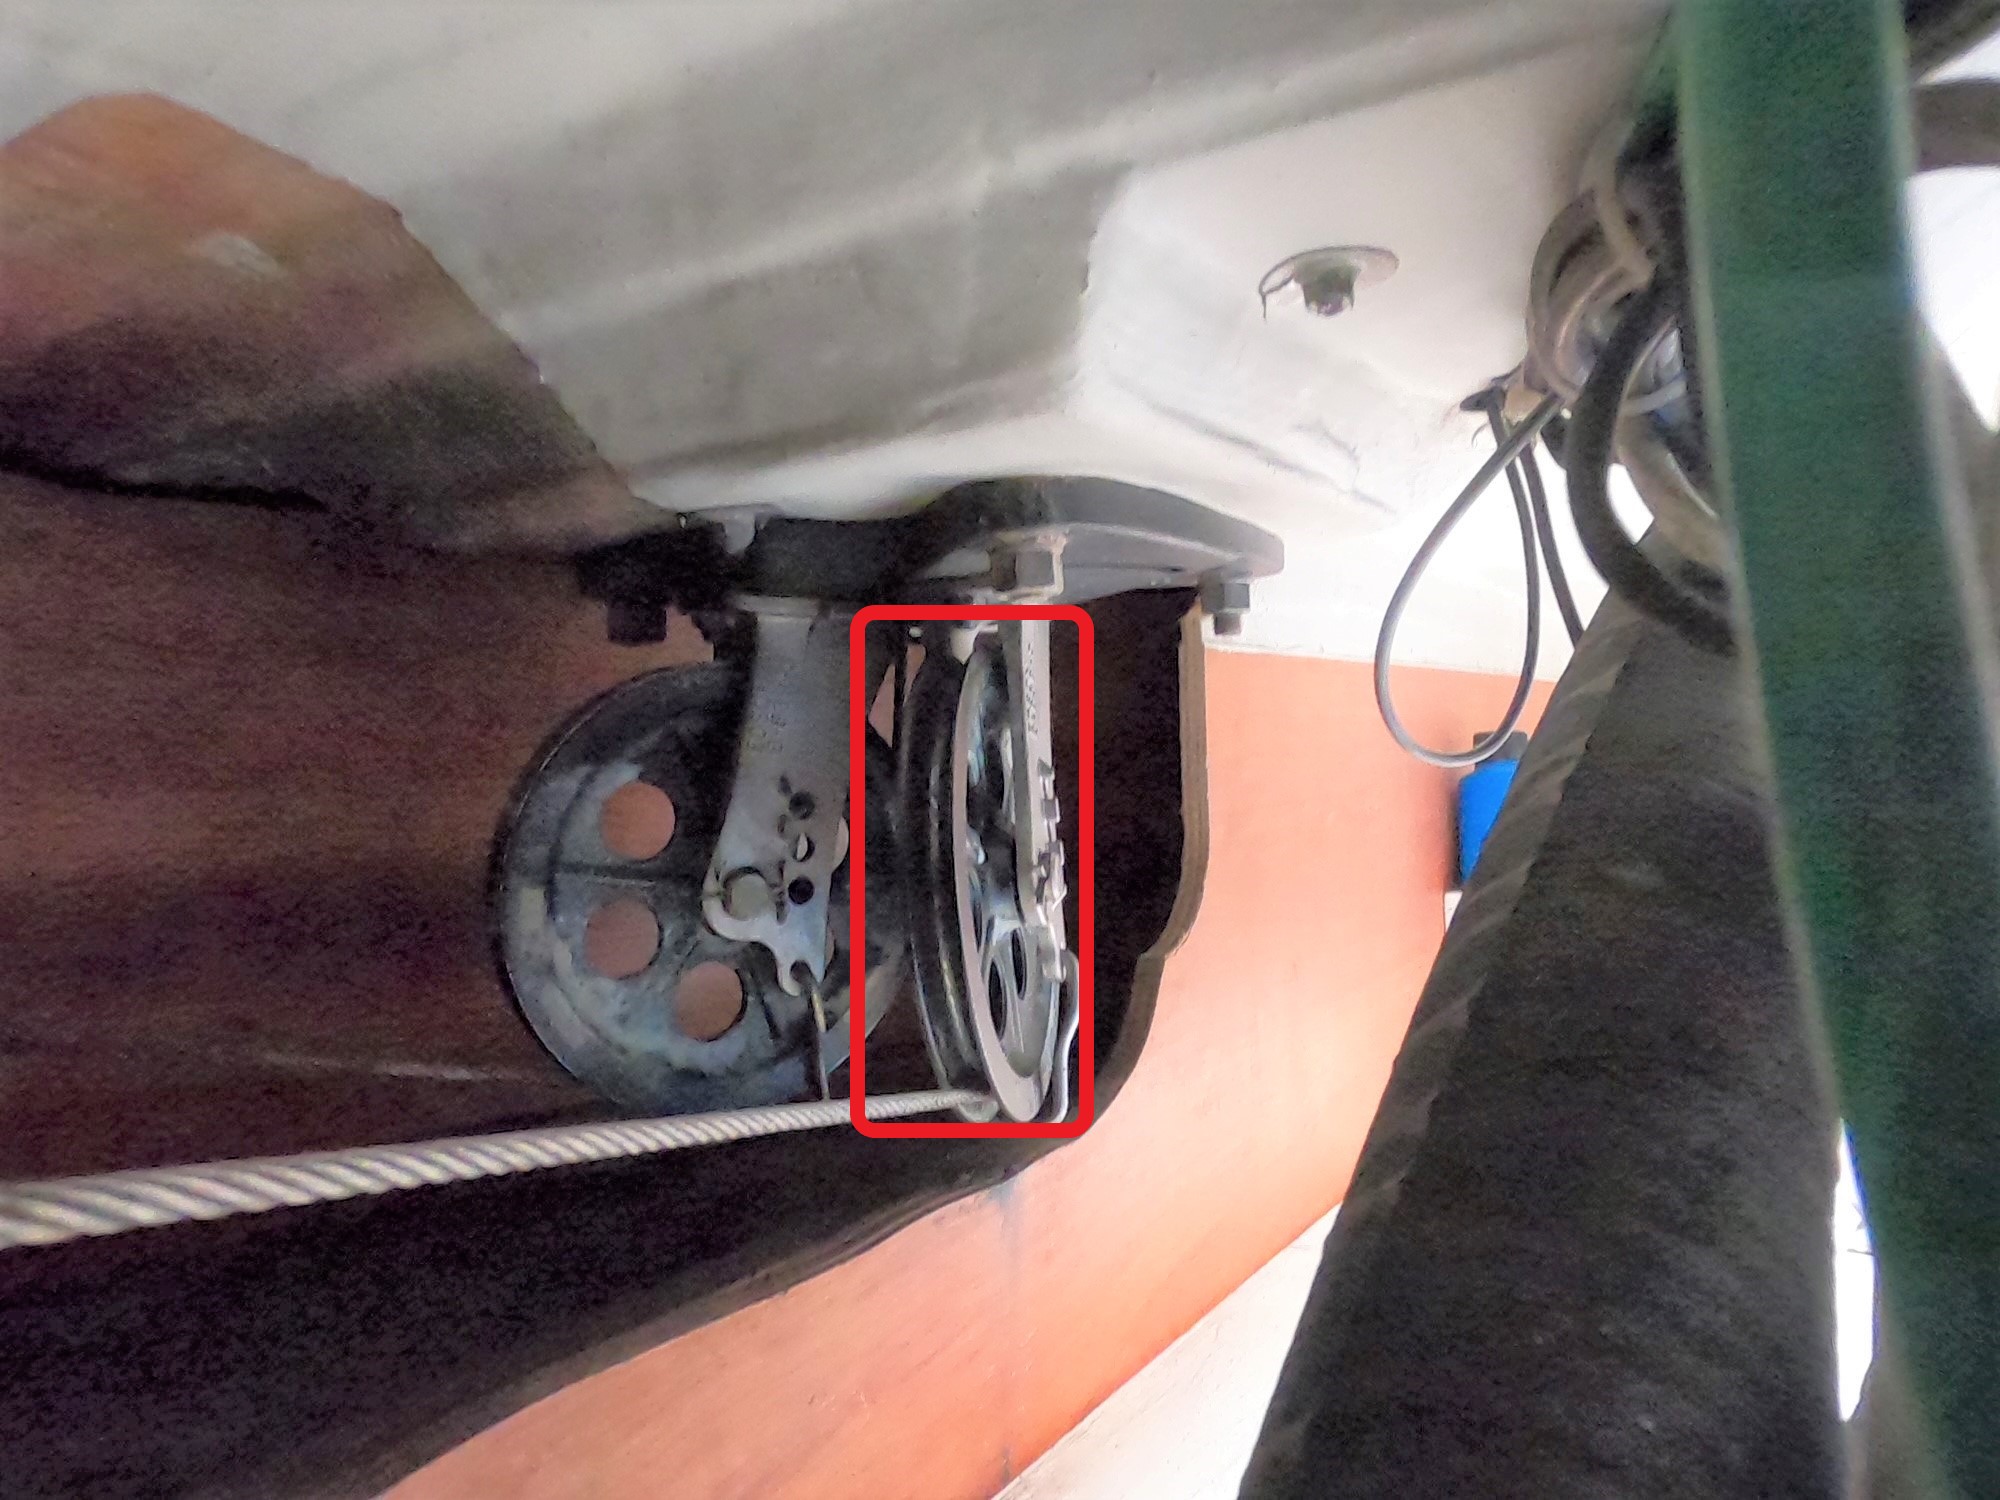
If you look closely at this idler sheave, you can see it's been a bit worn by the wire. It's still in good shape and by way of refurbishment we will just buff out the sheave with an emery cloth to remove any burrs. This system in general is very well aligned and appears to have always had good cable tension (see post on cable tension here) so the overall health of the system is solid and no alignment adjustment is needed.
Looking back at the radial, we see a similar scene - light scarring but otherwise good stuff.
Again, we'll give a light emery scrub here and get the radial all smoothed out, but things look great in general.

You still can't easily see it too much in the photo, but this chain has quite a bit of rust on the inside faces of the plates at the rollers. I hate to be a fear monger but rust is a killer, and these things get ugly at precisely the worst moment for them to do it.
Once back at the shop, we carefully measured the cable from bearing point to bearing point on each cable, and took the chain length. We'll replace the chain with a new version of the same, and then splice up new Dyneema cables and go back and reinstall them to confirm length and our J/109 kit will be ready to go.